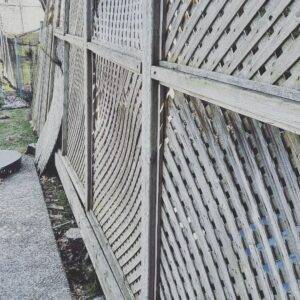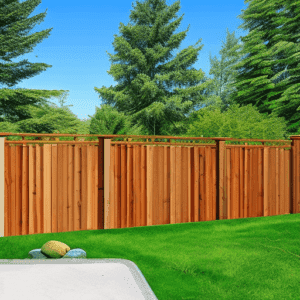


Installing a new fence can be a daunting task, but it doesn’t have to be! With the right tools and instructions, you can create a straight and level fence line in no time. In this article, we’ll quickly review how to create a straight fence line so that you can get your new fence up without any hassle.
Measuring and Marking Out the Fence Line
Before you begin your fencing project, you will need to determine your exact property line and understand what your local setback (usually between 6-12 inches).
Once your have an understanding of your property line and have cleared the area where the fence will go, the first step is to measure and mark out the fence line.
You’ll need to measure the total length of the fence line and then mark it out with Batter Boards, and mason string at each corner.
To mark gates, first find the on-center spacing for the gateposts. Combine the width of the gate, the clearance necessary for the hinges and latch hardware, and the actual width of the post. Mark the the ground with white marking paint to indicate the center spot of each Gate Post.
Once your line is all set, it is time to refer to your site map, and measure out the post locations (usually 6′ to 8′) and make a mark with white marking paint. Remember that this mark indicates the center of the posts, not the edges.
Once you have your fence line marked out, you can call Hole Digger to dig your post holes or begin digging your post holes.